The group has been talking for an hour. Good people. Smart contributions. But something is off and nobody can name it.
The team keeps taking on new work, but nobody will say what needs to stop.
The project needs allies across the building, but nobody knows who actually knows whom.
The real feelings about a change are sitting in the room, but they are hiding behind professional language and careful summaries.
You can feel the invisible stuff. You just can't point at it. And you can't fix what you can't see.
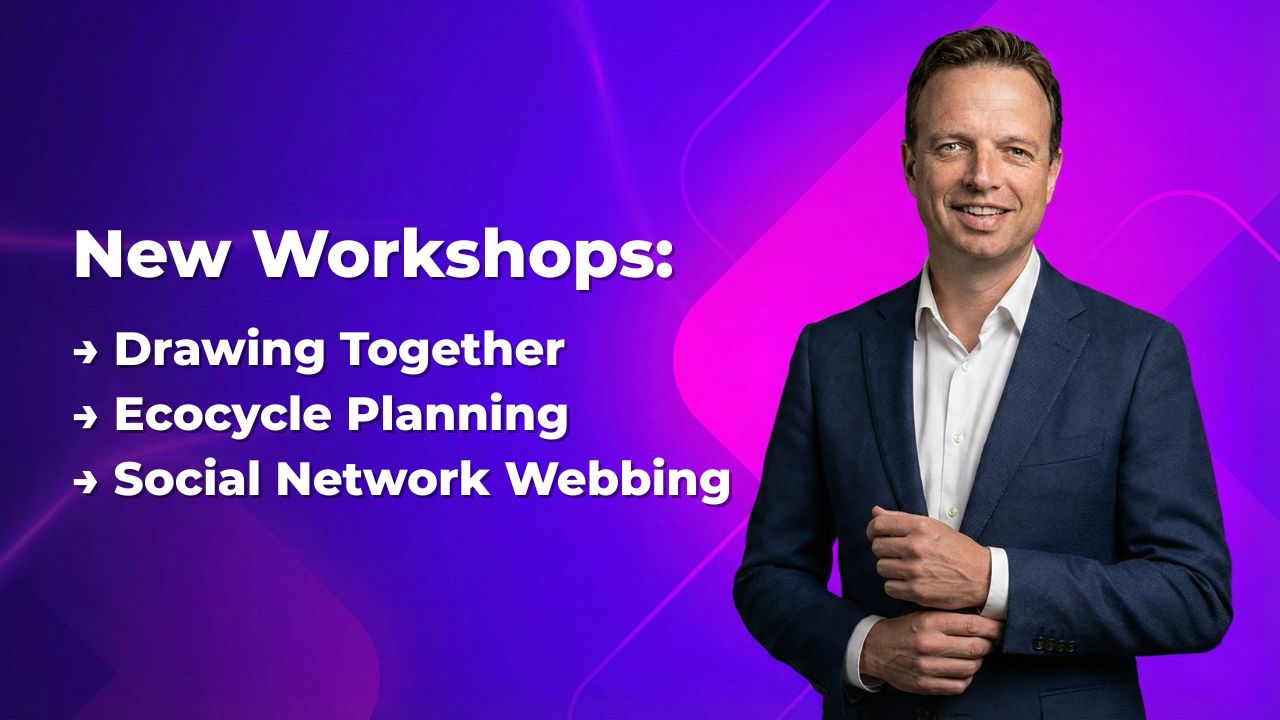
The three techniques I have added to the library this week solve this in different ways.
All three are from the Visual & Graphic category. All three replace talking with mapping, drawing, or building.
And all three work because they take something the group can feel but cannot say and turn it into something physical, visible, and impossible to ignore.
Drawing Together
(free download until Tuesday)

Hand someone a marker and a blank sheet of paper. Tell them they can only use five symbols: a circle, a rectangle, a triangle, a spiral, and a stick figure.
No words. No numbers. No labels. Just those five shapes.
Then ask them to draw the story of their team's year, or what this change has felt like, or the journey of a project that went sideways.
What happens next is the interesting part.
They draw in silence. Then they swap their picture with a partner.
And here is the rule that makes everything work: the person who drew does not speak.
The partner looks at the picture and says what they see.
What story do these symbols tell? What stands out? What feels important?
The gap between what the drawer intended and what the interpreter sees is where the learning lives.
Someone draws their goal as a tiny triangle hidden behind a massive rectangle of structure and support.
They did not plan that. But there it is, on the page, saying something that a verbal update in a meeting never would.
Why it works. The five-symbol constraint forces people out of logical, sequential thinking.
When you take away words, people have to express meaning through size, position, colour, and spatial relationships.
The silent interpretation step is equally powerful. When someone else reads your drawing, they often see things you did not consciously put there.
That is tacit knowledge surfacing: the things people know but cannot say.
A real example. A cross-functional product team of eight was struggling with alignment. When the drawings went up on the wall, a pattern jumped out: the engineering team members had drawn relationships clustered around large rectangles. The designers had drawn spirals pushing away from rectangles. Nobody had said the words "we disagree about stability versus experimentation." But the drawings made the tension visible for the first time, and the team had one of the most productive conversations they had ever had about how to balance both.
How to run a basic version:
-
Draw the five symbols on a whiteboard and explain what each one means. Circle = wholeness. Rectangle = support. Triangle = goal. Spiral = change. Star person = relationship.
-
Give everyone a practice round. Two minutes with a scrap of paper. Get the markers in their hands before the real prompt.
-
State your prompt. "Using only these five symbols and no words, tell the story of [your topic]." Ten minutes, in silence.
-
Give them a fresh sheet for a second draft. This time, be deliberate about size, colour, and placement. Make the important things bigger. Another ten minutes.
-
Pairs or small groups: one person shares their drawing but stays silent. The others interpret what they see. After the interpretation, the drawer responds: "What surprised me was..." or "What you did not see is..."
-
Whole group debrief. Post the drawings. Ask: "What do all these drawings reveal, taken together? What patterns show up? What is missing?"
The one rule you must protect:
The drawer does not speak while others interpret. This is the hardest part to enforce and the most important. The moment the drawer explains, the interpreters stop looking and start listening, and the whole technique collapses back into verbal processing.
→ Download the full Drawing Together guide
New for Pro Members this week
Ecocycle Planning

Your team keeps saying yes to everything. New projects arrive. Old ones never leave. Everyone is overloaded, but nobody will name the thing that needs to stop.
Ecocycle Planning makes this visible. It is a figure-of-eight lifecycle map with four phases: birth (new initiatives getting started), maturity (things running well), creative destruction (things that need to stop), and renewal (where new ideas can emerge). Participants write every activity they spend time on, place each one on the map, and then step back and look at the whole picture together.
The power is in the pattern. When a group sees 80% of their sticky notes clustered in the Maturity zone and nothing in Renewal, the imbalance becomes undeniable. Nobody has to be the person who says "we need to stop doing that." The map says it for them.
Two traps sit on the diagram: the Rigidity Trap (where mature activities refuse to die and consume all available resources) and the Scarcity Trap (where promising new ideas starve because there is nothing left to fund them).
The technique works with 6 to 40 people and takes 75 to 120 minutes. It is designed for portfolio-level decisions: what to start, what to stop, what to grow, and what to let go. If your group has ever spent a full day on strategic planning and added twelve new priorities without retiring a single old one, this is the technique that breaks the pattern.
The full guide inside the Pro library includes the complete process (seven steps from individual listing through action planning), the two key facilitation moves that stop groups from mapping honestly but then refusing to commit to stopping anything, and five real-world applications including a post-merger integration and an IT portfolio review where the visual map made the business case that three separate business cases had failed to make.
→ Read the full Ecocycle Planning guide
Social Network Webbing

You need to spread an idea beyond your immediate circle. Or you are trying to understand why information is not flowing between two parts of the organisation. Or your project needs allies and you cannot see who knows whom.
Social Network Webbing maps the invisible network. A core group of 5 to 15 people builds a physical web on a wall using colour-coded sticky notes, one name per note. They place people they already work with near the centre and people they want to reach further out. Then they draw lines showing who knows whom, who has influence, who can block progress, and who can accelerate it.
The map reveals things that no org chart ever shows. In one hospital, an infection prevention team discovered they had strong connections to nursing leadership but zero links to facilities management, who controlled the cleaning protocols that were central to their work. A single introduction that came out of the mapping session led to a joint audit that reduced infection rates.
In a financial firm, middle managers discovered that an entire regional office had no connection to the product development team. One introduction unlocked a pilot programme.
The technique takes 55 to 90 minutes and works best with a small, focused group. The full guide inside the Pro library includes the six-step process (from defining the colour legend through to strategy and follow-up), the facilitation move that stops people writing job titles instead of real names, and guidance on the analysis questions that turn a pretty wall of sticky notes into an actual network strategy.
→ Read the full Social Network Webbing guide
What connects these three
Drawing Together, Ecocycle Planning, and Social Network Webbing look different on the surface. One uses five symbols on blank paper. One uses a figure-of-eight lifecycle. One uses sticky notes on a wall. But they solve the same fundamental problem: the group knows more than it can say.
Hidden feelings about a change. Invisible portfolio imbalances. Relationships that exist but nobody can see at the same time. These are the things that drive the conversations in the corridor after the session. These three techniques bring those conversations into the room, onto the wall, and into the open where the group can actually do something with them.
Join Pro for consultant-grade workshops
288 techniques across 11 categories. New ones added every week. If you are a WorkshopBank member, all three are in your library now.
If you are not, here is what you are missing: consultant-grade guides with step-by-step processes, facilitator scripts, timing breakdowns, common pitfalls, and real-world applications for every technique. Ready to pick up and run.
→ Sign-in for free and see everything inside WorkshopBank Pro
Questions about membership? Send me a message. I reply personally.